For Restaurant Supply distributors, Accolent ERP provides an easy linkage with AutoQuotes (“AQ”). Using AQ, distributors can create AQ Projects and then download these as pre-configured CSV files. These CSV files (“AQ Export CSVs”) can be zipped and then imported into Accolent ERP as orders. To create an order in Accolent ERP, first create the order header specifying the Customer, terms, etc., then import the zipped AQ Export CSV. From the AQ Export CSV, the system will first automatically create any new vendors and products that are not already in Accolent ERP. Then the system will automatically create the order lines in Accolent ERP. Once the order is created in Accolent ERP, it can be sent to the Customer, edited and/or moved to fulfillment as needed. This wiki explains how to add 4 new columns to the AutoQuotes Spreadsheet to create the pre-configured AQ Export CSV. These new columns are needed in order to be able to properly upload the CSV file to Accolent ERP.
Adding New Columns
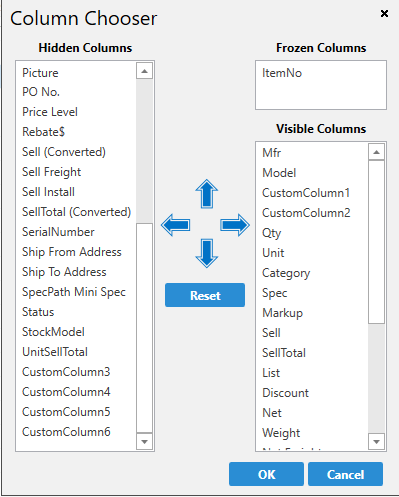
- Open an AQ project and click on Choose Columns

- On the left select CustomColumn1, click the right arrow; do the same for CustomColumn2, CustomColumn3 and CustomColumn4.
- Highlight the added columns and move them to the position after Model and click OK.
- You will use CustomColumn1 for the Accolent Vendor Code, CustomColumn2 for the Accolent Product Code, CustomColumn3 for the Accolent Product Description and CustomColumn4 to designate whether the Product is a Sales item or a Special Order item.
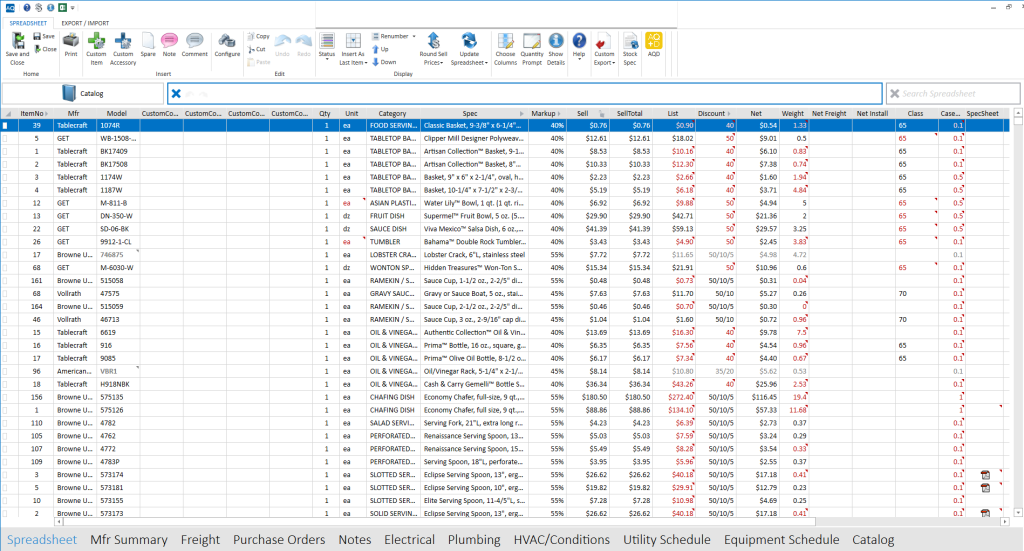
- This is how the added columns will appear on the AQ Spreadsheet:
- Now configure the ADS export file from the Admin Settings.
- Select Company Settings.

- Select Export.
- Then Add Export.
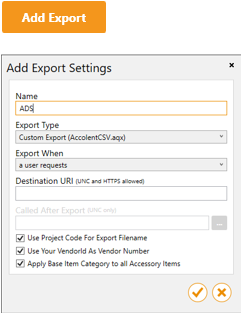
- Select export type Custom Export.
- In the Custom Export box select Add.
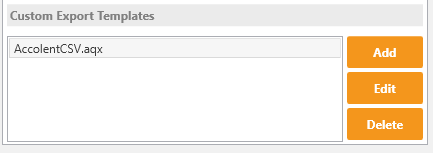
- On the Custom Export Template screen, click Generic Template in the bottom left corner of the screen
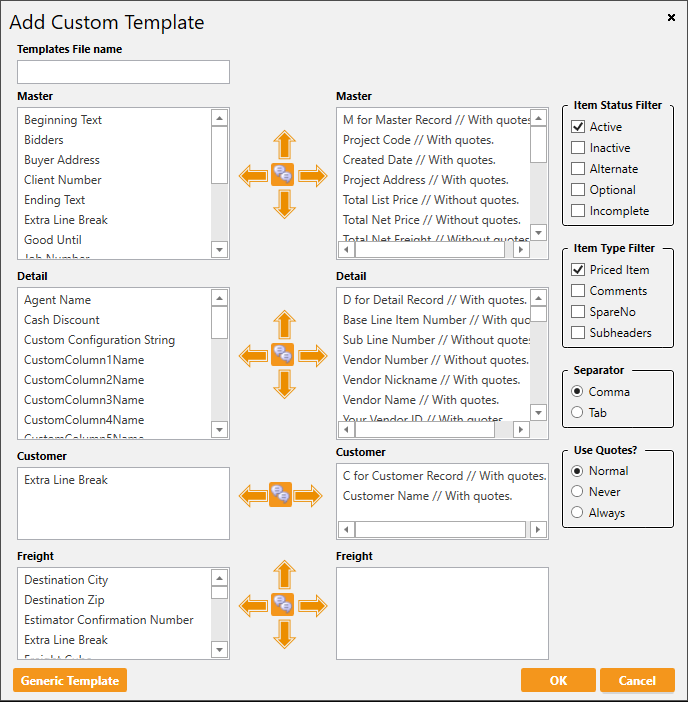
- In the Detail box on the left select CustomColumn1Name, click the right arrow. Do the same for CustomColumn2Name, CustomColumn3Name, and CustomColumn4Name .
- In the detail box on the right move fields: CustomColumn1Name, CustomColumn2Name, CustomColumn3Name and CustomColumn4Name below the Model Number field.
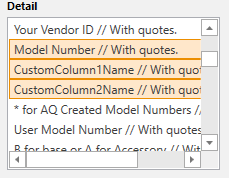
- Click OK, then click the check mark.
Exporting the Data
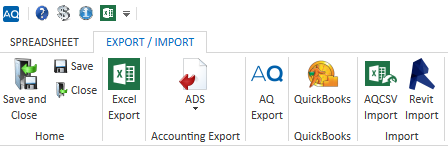
- Open an AQ project and switch to the import/export tab.
- Click on ADS Export in the Accounting Export section.
CSV Format
- Save the file with a CSV extension.
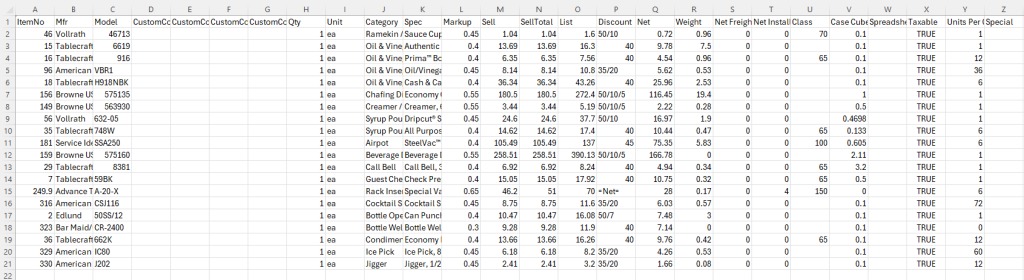
- Below is an example of the CSV file opened with Excel; be careful when editing CSV files with Excel as Excel can drop leading zeros.